Stock Tracker 4
Stock Tracker 4 Home


Using Stock Tracker 4
Getting Started Guide
Initial Setup
Operator Login
Overview
Adding Items
Selling Items
Managing Contacts

Reference
Client Options
Administration Area
Printing
Using Barcodes
Networking
Backup Instructions
Product Registration

Initial Setup

Please back up your existing database files to another location before upgrading from an earlier version.
Please also ensure that no users are logged into the system.


If you are upgrading from Stock Tracker 3 and are unsure of where to find (or want to back up or move) your old database click here.

The first time the software is run a prompt asks whether to create or connect to an existing database on another computer.


Note
If you are upgrading from an older version of Palace Stock Tracker press No.

Yes creates a new empty database on the local computer (this is intended for a single user or as the first user on a network).  After the database is created enter your organisation's information when prompted (this can be changed later on).

You are ready to login!
No connects to an existing database either on the local computer or on a network share.
Follow the steps below to connect to an existing Palace Stock Tracker database.

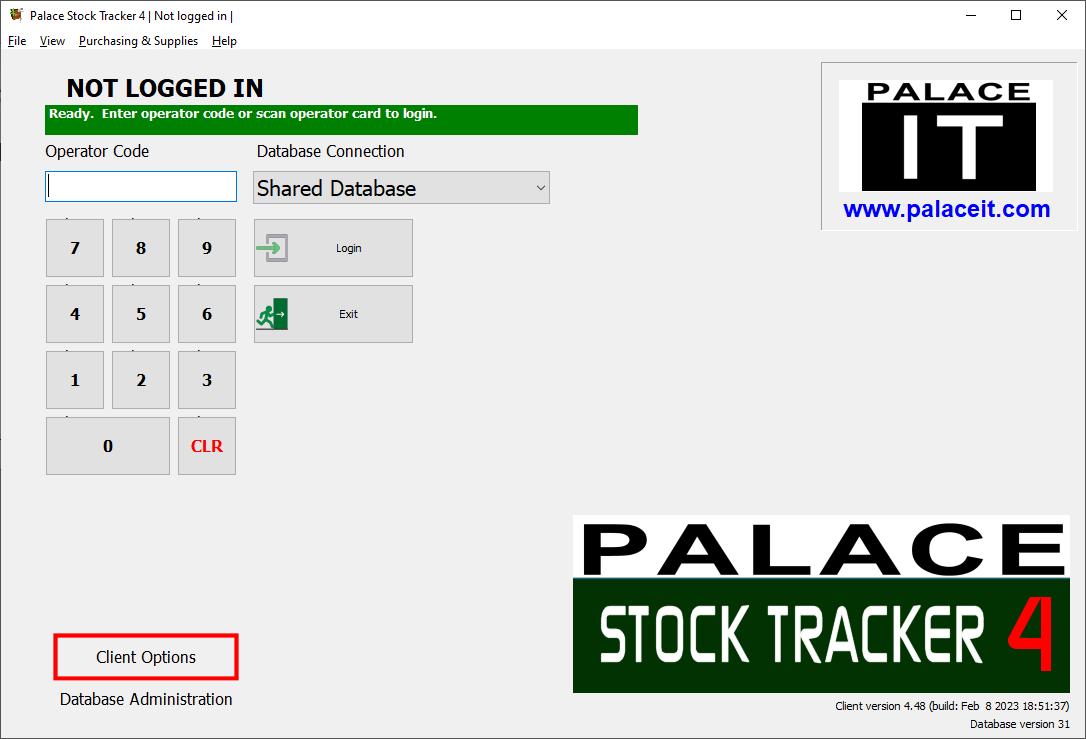
After pressing No press the Client Options button.


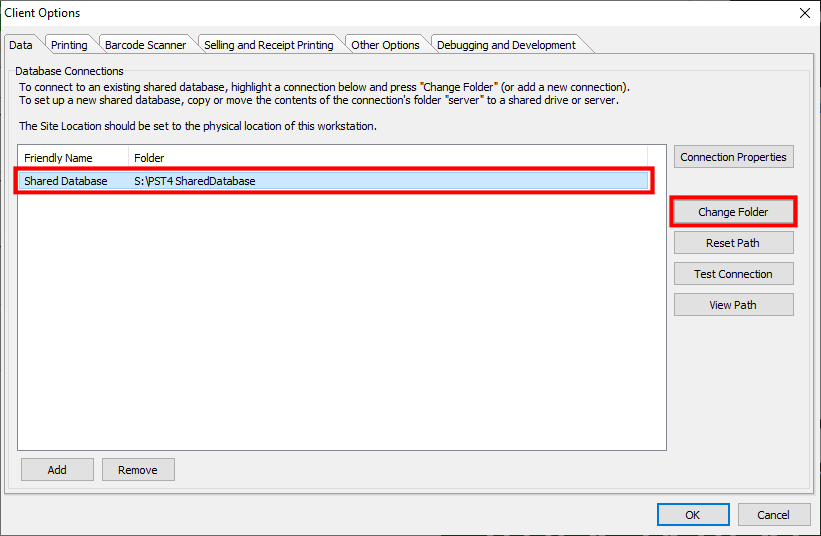
Highlight the Default entry in the list and press Change Folder.


Select the location of the existing Palace Stock Tracker 1, 2, 3 or 4 database using the folder browser when prompted.

Press OK to close the Client Options and proceed to login.

See Also


 Contents
 Top